
From Dock to Shelf: The Receiving Checklist That Closes Your Bulk Order
The Problem: The Order Is Not Done Until the Goods Are Good — on Your Shelf
A bulk ceramic order has two endings. The factory's ending is the container leaving the dock, sealed and documented. The buyer's ending comes later: the container arriving, being unloaded, counted, checked and put on the shelf — and only then is the order truly closed. Buyers who rush the receiving step pay for it in the slow, expensive currency of discovering problems after the goods are mixed into stock. This guide is a step-by-step receiving checklist for a ceramic container delivery, built to catch the issues that matter while the evidence is still clean.
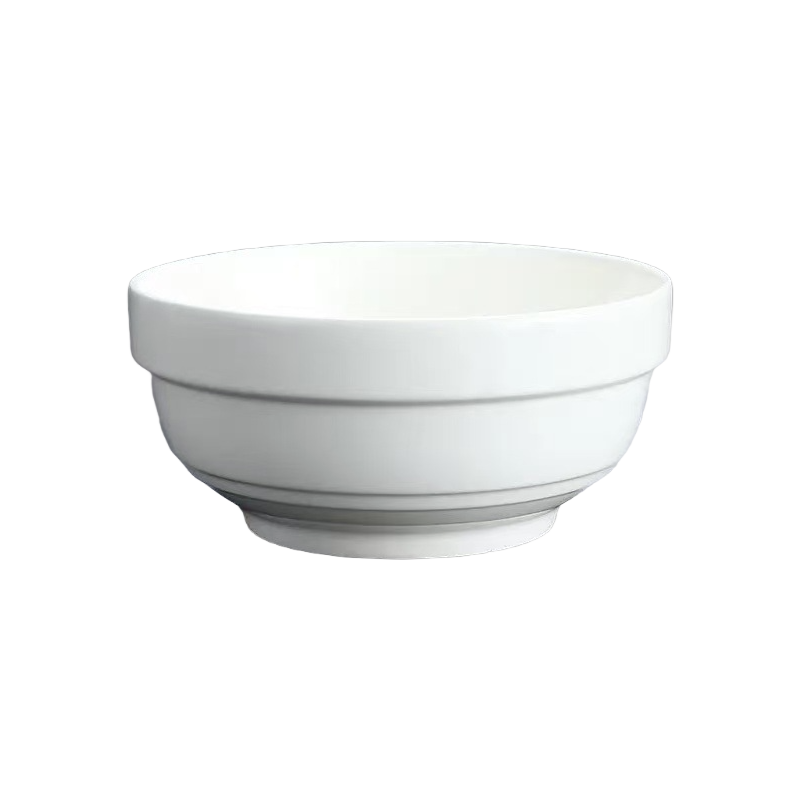
Products in this guide: Ceramic Rice Bowl · Ceramic Soup Bowl
Where This Fits in the Sourcing Chain
The release gates protected the order before shipment on the factory side. The release-gate guide explains the checkpoints before the bulk run. The shipment-file guide covered how to read the documents that travel with the goods. This guide closes the loop from the buyer's side: the physical receiving steps that confirm the documents were true. See the full ceramic sourcing process map.
Step One: Verify the Container Before You Open It
The receiving process starts before the first carton moves. Check the container number and the seal number against the bill of lading and the factory's report — the same cross-check covered in reading the shipment file. If the seal number differs, photograph it and note it before opening: the container may have been opened in transit, and that fact belongs in the record before anything else. If the container shows external damage, photograph the container and note it on the delivery documents while the carrier is still present.
Step Two: Unload with a System
Unloading a ceramic container is where damage is discovered — and where damage can also be caused. Set up a simple system before the first carton is moved:
- One person directs and counts; one person records. Counting is done at the container door, carton by carton, against the packing list.
- Check carton marks as they come out — the design or SKU on each carton should match what the packing list says is in that position.
- Watch for visible damage: crushed corners, wet or stained cartons, cartons that feel loose or rattle. Set damaged cartons aside in a separate area, not mixed with the good ones.
- Record the count and the damage observations immediately, on paper or in a phone note — memory is not reliable across a hundred cartons.
Step Three: Count Against the Documents
When the container is empty, reconcile the numbers: cartons received against the packing list, and the packing list against the bill of lading package count. Three numbers should agree — what you received, what the factory said it packed, and what the carrier said it carried. Any difference goes on the record with photos. This is also the moment to check the gross weight if you can weigh the load, since a significant shortfall can indicate cartons packed below specification.
Step Four: Sample-Check Inside the Cartons
You cannot open every carton of a container, and you do not need to — the same sampling logic that protects the factory's inspection protects your receiving check. Open a representative sample across the load:
- Per SKU, per carton position. Sample cartons from different parts of the container (front, middle, back), not just the ones easiest to reach.
- Check against the approved reference. Piece count per carton, decoration against the approved artwork, colour and finish against the master sample where you hold one.
- Look for transit damage as well as production defects. Broken handles and chipped rims are common in ceramics in transit; the packing quality inside the carton — dividers, padding, how tightly pieces are held — tells you whether the damage was preventable.
- Record what you find. Photos of the sampled cartons and any defects, with the carton number, become the evidence base if a claim follows.
Step Five: Decide, Record, and Route
For every discrepancy found — short count, damaged cartons, off-spec pieces — decide and record the disposition:
- Short count: note it against the packing list and inform the factory within the agreed claim window.
- Damaged or off-spec: separate the affected quantity, photograph it, and decide between claim, rework or acceptance with a credit, based on the quality terms written into your order.
- Document everything: one receiving record per delivery, filed with the shipment file in the order dossier. The order dossier guide explains how every order document lands in one record.
Step Six: Put It on the Shelf — With the Record Behind It
Once the goods are checked and any discrepancies are recorded, the stock moves to the shelf or warehouse — but the receiving record moves with it into your records. This is what makes the next order faster: the dossier now contains a complete loop for this delivery, from order to dock to shelf, ready to reference when you reorder the same SKUs.
Common Mistakes at Receiving
- Opening the container before checking the seal, and losing the cleanest evidence of whether the container was tampered with in transit.
- Unloading without a counting system, then discovering a short count that nobody can trace to a specific point.
- Mixing damaged cartons with good stock during unloading, so damage is discovered weeks later with no way to attribute it.
- Skipping the inside-carton sample check, so production defects or preventable packing damage surface only after the goods are on the shelf.
- Filing nothing, so every receiving problem is rediscovered from scratch at the next order.
How Storiware Supports the Receiving Step
Storiware's part of the loop ends at the dock, but it is built to make the buyer's receiving step clean: the packing list states carton counts, piece quantities, weights and marks; the container and seal numbers are reported before loading; and the pre-shipment inspection records the quality check while the goods were still at the factory. When a buyer finds a discrepancy at receiving, the factory can trace it against the loading record — the same document trail the shipment-file guide describes. The receiving checklist is the buyer's side of that shared record.
Buyer Checklist from Dock to Shelf
- Container and seal numbers verified before opening
- External damage photographed with the carrier present
- Counting system in place during unloading
- Cartons received reconciled with packing list and B/L
- Inside-carton sample check against the approved reference
- Discrepancies recorded with photos and dispositions decided
- Receiving record filed with the shipment file in the dossier
The container leaving the dock is the factory's proof of work — but the order is only closed when the goods are checked, recorded and on your shelf. Run the receiving checklist every time, and the loop that starts with an inquiry ends with a record you can build the next order on.
If this article answered the planning question, our custom mug bulk order overview answers the execution one.
Related Products
Explore products featured in this guide:

Have questions? See our Sizes & Finishes FAQ and Ordering & Certifications FAQ.
Need a custom quote? Send an inquiry or browse our full product catalog.