Mug Sampling 101: The Mockup-to-Approval Process
Mug Sampling 101: The Mockup-to-Approval Process
Every successful custom mug order starts the same way: a sample. The sample is where design meets reality — where your artwork, your glaze choice, and the factory's production capabilities all get tested before you commit to thousands of pieces.
For buyers who are new to OEM mug sourcing, the sampling process can feel opaque. This guide walks through every stage, from the first mockup to the final approval, and shows you what to check at each step so nothing slips through.
Why Sampling Matters More Than You Think
Samples are not a formality. They are the cheapest insurance you can buy in a sourcing project:
- They catch problems early. A color that looked right on screen, a handle that feels wrong in the hand, a logo that prints muddy — all of this is fixable at the sample stage and expensive after production.
- They set the quality baseline. The approved sample becomes the reference for the entire production run. If you skip it, you have nothing to hold the factory to.
- They protect your timeline. Design issues found at sampling cost days. The same issues found after production cost months.
Stage 1: The Design Mockup
The process starts with a digital mockup — a visual proposal of what the mug will look like.
What happens: You provide your artwork, logo, and specifications. The factory or manufacturer creates a mockup showing the design on the mug shape, in the chosen colors.
What to check:
- Does the design wrap correctly around the curved surface? Flat artwork always distorts when wrapped.
- Is the color placement right? Where the logo sits relative to the handle and rim matters.
- Is the print area within the printable zone? Most mugs have a limited print area that your mockup must respect.
- Are your files print-ready? Vector logos (AI, EPS, PDF) reproduce cleanly; low-resolution images do not.
Tip: Review the mockup carefully before approving. Changes are cheap here and expensive after the sample is made.
Stage 2: The Pre-Production Sample
Once the mockup is approved, the factory makes a physical sample using the actual production process.
What happens: A real mug is shaped, glazed, and decorated using the same materials and methods that will be used for the bulk run. This sample is sent to you for review.
What to check:
| Check | Why | How |
|---|---|---|
| Shape and size | The mug should match your spec exactly | Measure against your drawing |
| Handle comfort | The most-used part of the mug | Hold it with a full grip |
| Glaze color | Screen colors shift in real glaze | Compare to your brand reference |
| Surface quality | Cracks, pinholes, and rough spots | Inspect in good light |
| Logo placement | Position and size relative to handle | Compare to the mockup |
| Capacity | Actual fill volume | Fill with water and measure |
Stage 3: The Decoration Sample
For printed or decorated mugs, the decoration sample is where most quality issues surface.
What happens: The logo or design is applied to the sample using your chosen method — sublimation, decal, silk screen, or embossing.
What to check for each method:
- Sublimation: Is the color vivid and correct? Sublimation colors can shift from screen to print. Check the white base is true and there is no banding.
- Decal: Does the full-color design reproduce sharply? Look for edge crispness and color accuracy, especially in gradients and skin tones.
- Silk screen: Are the colors opaque and correctly registered? Check for misalignment between colors.
- Embossing/Debossing: Is the depth consistent? Does the texture photograph the way you want?
Stage 4: Functional Testing
A mug that looks perfect but fails in use will cost you returns. Test the sample the way your end customer will.
Dishwasher test. Run the sample through a dishwasher cycle. Check whether the glaze dulls, the decoration fades or chips, and the handle survives.
Microwave test. If your mug will be microwaved, test it. Check for hot spots, crazing, or metallic decoration issues.
Stain test. Leave coffee or tea in the mug for a few hours and see whether the interior stains. This matters especially for matte and light-colored interiors.
Stacking test. For stackable designs, confirm the mugs nest properly and separate easily.
Stage 5: Approval and Sign-Off
The final step is formal approval — the moment the sample becomes the reference for production.
What to do:
- Write down everything you approved. Document the exact colors, dimensions, and finish, and share it back with the factory. Ambiguity here causes rework later.
- Keep the approved sample safe. You may need to compare production pieces against it.
- Agree on tolerances. What color variance is acceptable? What weight range? Set these before production, not after.
- Confirm the production timeline. Sampling delays push everything back, so reconfirm your delivery date once the sample is approved.
Common Sampling Mistakes to Avoid
- Skipping the mockup stage. A physical sample made from unapproved artwork wastes weeks.
- Approving from photos alone. Photos lie about color and feel. Always handle the physical sample.
- Changing the design after sampling. Every change resets the clock. Freeze the design before sampling begins.
- Ignoring functional tests. A mug that looks great but stains or chips will generate returns.
- Not documenting approvals. Verbal approvals create disputes. Put everything in writing.
How Long Does Sampling Take?
Timelines vary by complexity, but a realistic picture:
| Stage | Typical time |
|---|---|
| Mockup | 2-5 days |
| Pre-production sample | 10-20 days |
| Decoration sample | 5-10 days after pre-production |
| Shipping to buyer | 3-7 days |
| Total | 3-6 weeks |
Plan your schedule with this in mind, especially if you have a seasonal deadline.
Working with Storiware Ceramic Mugs
Storiware Ceramic Mugs follows a structured sampling process that covers every stage in this guide: mockup review, pre-production samples, decoration samples, and functional testing before approval.
When you work with us:
- Our design team reviews your artwork for printability and wrap distortion before sampling
- We produce samples with the actual production process, not short-cut methods
- Samples include functional testing guidance, so you know what to check
- We document approvals clearly and keep your approved sample as the production reference
Summary
The sampling process is your best opportunity to catch problems before they cost you. Move through the stages deliberately: mockup, pre-production sample, decoration sample, functional testing, and formal approval. Check carefully at each step, document everything, and freeze your design early.
A well-managed sample process takes a few weeks and saves you from months of headaches. And when you are ready to start, Storiware Ceramic Mugs is here to guide you through every stage.
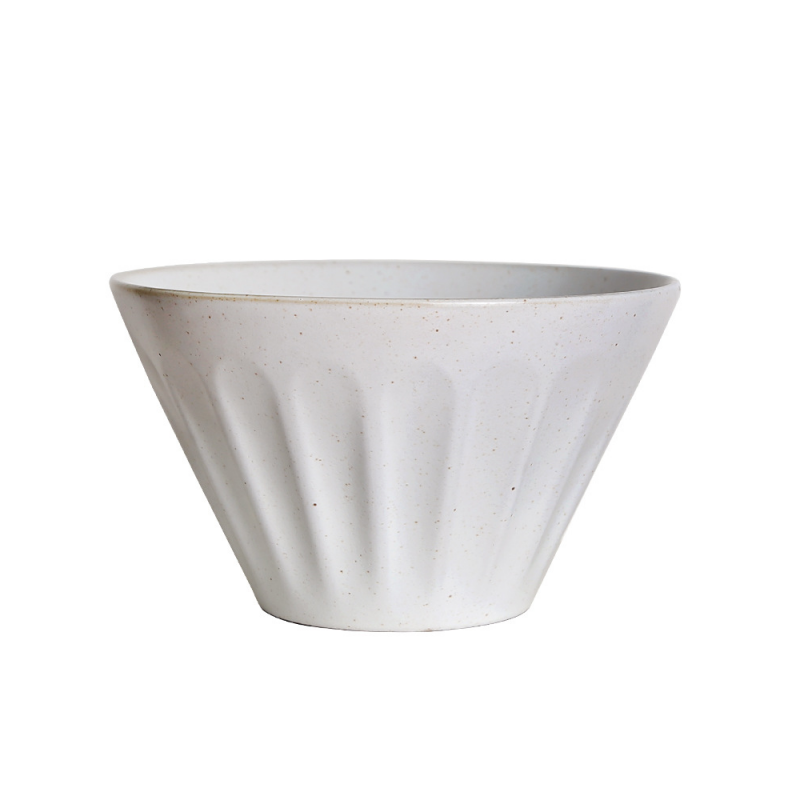
Featured Mugs from Storiware Ceramic Mugs
Explore products featured in this guide:
Need a custom quote? Send an inquiry or browse our full product catalog.