
Attributing Ceramic Defects: Factory, Packaging or Transit — and the Improvement Loop That Stops the Repeat
The Defect Is Not a Verdict Until It Is Attributed
A damaged container arrives, and the reflex is to send the photos to the factory. The factory replies with photos of its own, and the argument goes nowhere — because the defect was never attributed. Ceramic defects come from three different sources, each with a different remedy, and the buyers who sort them get refunds, pack fixes and supplier improvements; the buyers who do not sort them get a running argument. This guide covers the three defect sources, the attribution method, and the improvement loop that stops the repeat.
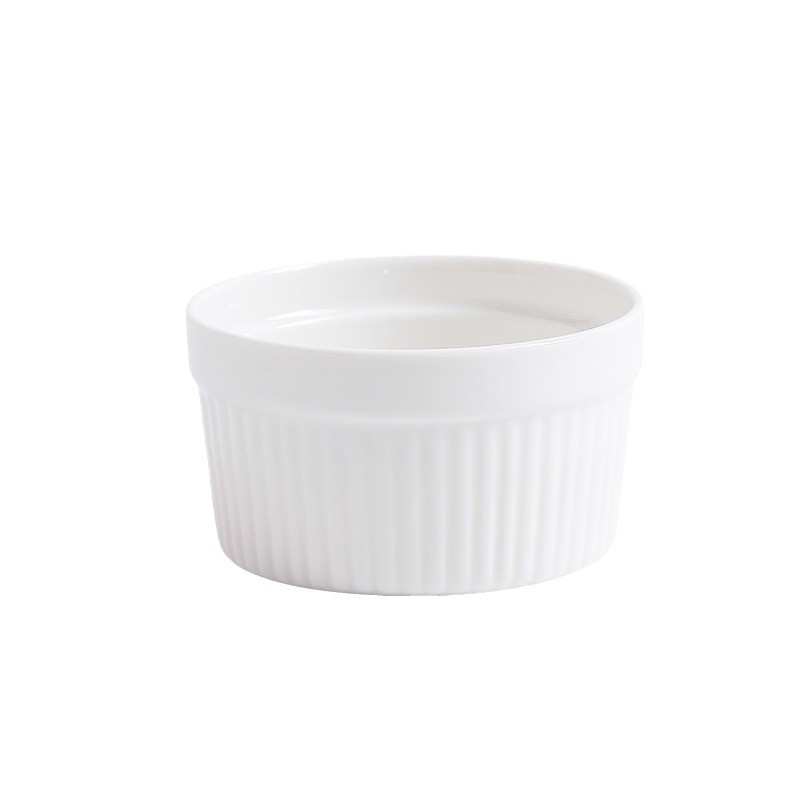
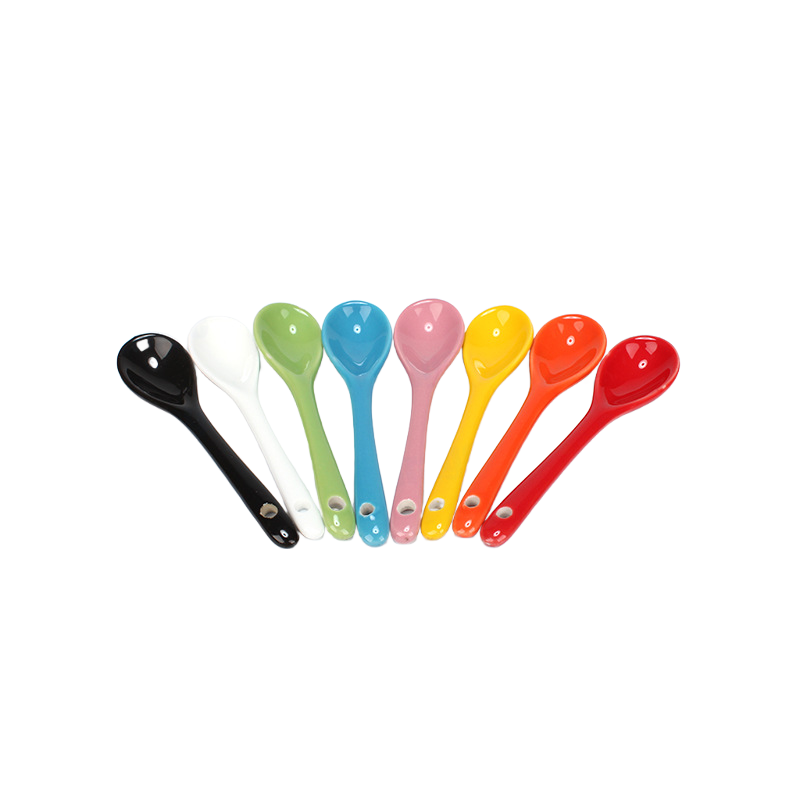
Products in this guide: Colorful Ceramic Ramekin Cups · Colorful Ceramic Spoon
Source 1: Factory Manufacturing Defects
Defects born in production: glaze flaws (pinholes, crazing, bare spots), body defects (warping, cracks from firing), decoration defects (misplaced prints, wrong shade — see our color-control guide), and dimension deviations (out-of-tolerance capacity or size).
The signature: defects appear inside the packaging — the piece is damaged or flawed under intact packing; the flaw is consistent across pieces from the same run; or the dimension/glaze check fails at the pre-shipment inspection (see our inspection guide).
The remedy: factory responsibility — claims under the quality clause (see our contract guide), rework or replacement, and a scorecard penalty (see our supplier scorecard). The evidence: the pre-shipment inspection report, the arrival check against the approval sample, and the defect photos showing the flaw under intact packing.
Source 2: Packaging Defects
Defects caused by the pack: breakage from missing dividers, thin liners, absent corner protection, or wrong stacking (see our packaging engineering guide). The pack failed, not the product.
The signature: correlated damage — broken pieces cluster where the pack failed (corners crushed, dividers missing, stack-height crush); the damage pattern repeats shipment after shipment; or the damaged pieces are the ones whose packing was visibly inadequate.
The remedy: packaging responsibility — revise the pack spec (liner, dividers, corner protection), re-run the drop/vibration tests (see our packaging guide), and confirm the corrected pack on the next shipment. The evidence: photos showing the packaging failure mode — this is what distinguishes a pack fix from a factory dispute.
Source 3: Transit and Handling Defects
Defects from the journey: rough handling, container shift, forklift damage, rough seas. The product and the pack were fine; the voyage broke them.
The signature: random, incident-based damage — breakage scattered without a pack-failure pattern; damage concentrated on one side or layer of the load (impact point); or damage consistent with a known handling incident (a dropped pallet, a shifted load). Transit damage often clusters around the container's doors and edges.
The remedy: carrier/insurance responsibility — the claim runs against the cargo insurance and the carrier (see our sea-freight damage guide), with the 48-hour inspection window and the evidence chain: signed delivery note, photos, inspection record, packing list.
The Attribution Method
Attribution is a checklist, not a guess. When defects appear, run the five questions:
- Inside or outside the packaging? Damage under intact packing points to factory; visible pack failure points to packaging; both can coexist — record both.
- Random or clustered? Scattered random breakage points to transit; clustered breakage with a pack-failure pattern points to packaging; consistent flaws across pieces point to factory.
- Consistent or one-off? The same defect repeating across shipments is a factory or packaging system issue; a one-off incident is transit.
- Where in the load? Damage at container doors and edges points to handling; damage in the middle of a stack points to compression/stacking (packaging or loading); damage at the bottom of a stack points to weight distribution.
- What does the timeline say? Damage noted at arrival with clean pre-shipment inspection points to transit; a pre-shipment report that already showed the flaw points to factory.
The Improvement Loop
Attribution feeds improvement — the goal is not to win the argument but to stop the repeat:
- Record every defect with its attribution in one log — date, product, defect, source, cost.
- Feed the factory data into the supplier scorecard (quality dimension); feeding the packaging data into the pack spec; feeding the transit data into the insurance and loading review.
- Review the log quarterly: if factory defects dominate, tighten the pre-shipment inspection; if packaging dominates, revise the pack; if transit dominates, review the carrier, the insurance cover and the loading plan (see our peak-logistics and loading guides).
- Measure the trend: the total defect rate should fall — a stable or rising rate with attribution in place means the fix is not working, and the log will show where.
The Attribution Checklist
Before any defect dispute, confirm: the defect source is attributed (factory, packaging or transit) using the five questions; the evidence is collected for that source (factory: inspection report + intact-pack photos; packaging: pack-failure photos; transit: delivery note + incident photos); the remedy is claimed against the right party (factory claim, pack revision, or insurance/carrier — see our claims guides); and the improvement loop is running (defect log, scorecard feed, quarterly review, trend measure). A defect is data — the buyers who attribute it correctly turn a damaged container into a pack fix, a scorecard penalty or an insurance recovery, and the buyers who do not turn it into a running argument that repeats.
"Defect-Smart Ceramic Programs"
Explore products featured in this guide:
Have questions? See our Sizes & Finishes FAQ and Ordering & Certifications FAQ.
Need a custom quote? Send an inquiry or browse our full product catalog.